Progress
This past weekend I managed to get first actual repairs underway (vs just general removal and cleanup).
First, I reconstructed the blackberry trellis in an improved form; the single poles didn’t allow enough tension in the wires and a guy wire on either end would be a trip-me-trap for anyone walking through the chaos maze. The double poles with the braces between will do a much better job.

From another angle, this time without a wall of tomato cages in front:

In the back you can barely see the new post that now supports a cross brace for the tallest part of the back fence (the collapsible green yard waste tote is at the base). I discovered the power line snagged the fence near the other corner and the force snapped a post at ground level before it slid over and took out the bat house and trellis. It is also in line with the other two posts of the same design, so now I can stretch a heavy wire 6-7′ off the ground for 40 feet, offset 4 feet from the back fence. This can support all sorts of things (yet to be decided) and creates vertical growing space. Kiwi? Grapes? More gourds? who knows…
The other back corner gained much more sun (full now) last summer after the Hackberry trees just off the property split and were eventually removed. It gave me room for more beds, perhaps another 200 SF, but I didn’t build any new beds over the winter. Now that the oak that was next to the Hackberries has to come down (it had the roofing wrapped around it and split), I have even more sun space/alternatives available. So what the heck, two new beds (8×4 and 6×4 ft) are in; one is in process to the left of the blackberry trellis.
The whole back shed is “womped” for lack of a better description and it going to take some thought and work to be able to repair without a complete tear-down/rebuild. See what I mean?

It is still a mess back there but a tiny bit of progress is beginning to show….
Intermission
The storm and all the repair work I’m scrambling to complete is gobbling up time and energy that might otherwise go into more posts with actual content in them.
I’m too tired to do anything about it tonight, so consider this post an “intermission” of photos:
Iris

Hosta

Artichoke

Thornless Blackberry

Iris & storm damaged shed

Bay Laurel

Ouch
From the “Keep your head down in a storm” category :
The dual 2″ galvanized steel pipes that held up the bat house appear to have been hit directly by the big piece that ended up in the trees in the background.
The wounded bat house is resting against the damaged shed near where I found it.

Also, the greatly reduced blackberries are in the next bed back adjacent to the trellis post that “survived” (sort of).
In spite of all this mess, I’m guessing that I have 75% of my summer bed space ready for their plants and am closing in on the rest. Back to true gardening posts soon…..
Flying Roof Post Mortem
The storm damage last Thursday was oddly local- not really local to the town or county but extremely local to the 1/2 of a block that the plumbing supply business and my home occupy….
Thursday after work, I was talking on the phone and wandered out to our sun room at around 6:30 to observe the storm (ha, understatement) when I saw the roofing of the small garage apartment start peeling off and flying away. In just a few seconds the wind picked up another notch; I hung up and yelled to Mrs cohutt to head to the basement as I started to run back towards the stairs in the center of our home. Things got extremely loud as the metal ripped off of the building and flew our way into the trees and power lines. Then almost as quickly as it started it ended – right about the time we made it to the steps and were expecting the “tornado” to hit us.
It turns out it was just an intense burst of wind that had combined with a bad roofing job that happened to line up a little too well with my back yard. The metal roofing had been added some time back on top of a much older but more substantial roof; this was a cost cutting decision I’m sure. It was elevated over the old roof from around 1 to 3 feet depending on where in the pitch one measured it, and when the wind got an opening started under the edge the whole thing took off like a sail.
Fortunately for us, the lower edge of the piece pictured in the previous post caught the power lines running down the alley beside my fence. This of course caused us to lose power but the lines absorbed the blow and dropped the piece straight down over the fence and part of the garden. It pulled most of the lines down and broke off two poles a couple hundred yards down the alley but it sure kept it off of my house.
There were 4 large sections of roofing-
One flopped into the business’s side lot, one hit the trees across the alley and crumpled up (leaving some sections 40 feet off the ground), and the other two headed my way and got snagged by the power lines.
That evening and the next morning I surveyed the damage and took a few pictures:
The view from my roof Friday morning ( the source of it all was the buildings behind the end of the gutter).

and back towards the house:


Note the power lines are repaired in these pictures; the crews worked all night to replace the poles re-string the lines. The night before they were down and under the metal; you can see how they caught it and dropped it:

By the next morning they had removed the downed lines from under the metal; that in itself woke the dead at 330 AM. Metal is noisy; the bigger it is the noisier it is.

The other large pieces I mentioned were nearby; this one took out the bat house and blackberry trellis (and half of the vines) before wrapping around the trees along the property line in the back. The picture doesn’t do the size of this piece justice as it reached almost all of the way back to my neighbors house on the far side. And yes, another tree in her yard has split and is propped up over part of my yard. Yay.

Across the alley this was the view, with my fence and yard in the background:

You will notice some damage to my sheds and fences but they are all in pretty good shape overall. I didn’t come through it unscathed but it could have been a whole lot worse.
As of Sunday evening, the material was pretty much removed and everything cleaned up. I bartered a deal with a roofer to remove the metal just for the salvage / scrap rights so I can’t really complain much. I have a lot of repairs to do but am not going to miss the start of the season busting my rump to get them done.
Lucky break, all things considered.
I’m taking inventory of damage and will provide an update in my next post.
Safe
Storm. We are ok. House is ok.
Building from somewhere is in my garden entangled in power lines.
Bathouse gone. Trellises gone. Sheds ruined.
But we are ok. More when I have power.

Mangled Mess of Fava
Last fall I had the smart idea of trying another cool weather “crop”, fava beans. (Calling my backyard plantings “crops” still sounds pretty silly to me, but I don’t know what else to call them….)
Planting in autumn was perhaps a little foolhardy even with the mild winters we’ve had here lately. I’m not sure why I didn’t wait until late winter or early spring, but I guess I had my reasons, maybe that the “Windsor” variety was allegedly hardy to below 20 degrees.
I also planted these before I figured out that favas have to be shelled twice- one to remove the normal “pod”, once to remove the individual casing around each bean. (My bean sheller won’t like this, should these favas ever produce for us.)
Anyway….
The few nights into the low 20s here wounded the tall fava “stalks” but didn’t kill them; most would crimp somewhere up the main stalk and fall over, only to start growing upright again. The end result is basically fava stalk spaghetti, a real tangle of mangled green. Regardless of the shape of the plants, the key operative is the word “green”; green means they are very much alive.
Not only are they alive, they are now completely covered with blooms, an early treat for the pollinators venturing out as the days and nights slowly begin to warm up. No beans arrive without blooms first, so it looks like these are at least on the path to productivity.

The good news is that these plants are legumes (as vetch actually, not a true “bean”) and have been adding nitrogen to the soil of their beds all winter. This is why favas and other vetches are used extensively as a winter cover crop in commercial agriculture.
Since I have “crops” (as established in the first line of this post), I could claim that these were not planted last fall out of ignorance, but rather as a wise and forward looking soil improvement / cover crop project.
Yeah…. a cover crop, that’s the ticket.
Mo Better Green Garlic
I’ve posted before about green garlic (samples here), the immature garlic plant that has yet to bulb and is harvested early. It is eaten fresh, that is it isn’t cured like the regular garlic harvest.
This year I decided to plant a grid of small garlic heads from last year. I decided to forgo the usual separation of cloves and just put the entire head into the ground on a tight grid. I also planted these “late”, as in late winter and not fall, well after the normal crop was planted.
Also, I waited a little late to harvest some of it last year as the cloves were maybe a little too far along. Still usable, but this more “scallion-like” stage seems to be preferable for texture and mildness.
The results?
The grid as it stands, with a few clumps already harvested from the edge:

The pulled clumps with clods of moist soil still intact on the roots:

After a quick rinse with the well hose, ready for the fridge:


How to use it? It is difficult to classify as far as flavor. It is very mild, a sweet garlic smell with a hint of scallion or shallot. Consider it a fragrant and delicious addition to almost any dish that would benefit from a little garlic, chives or green onion. We’ve used it all sorts of experiments, over the last week in soups, cole slaw, and in both the base flavoring and as a “garnish” to a turnip/potato soup:

The lower whiter section of the plant is more like normal garlic than the green top; in the soup above I used both, with the greener stem sections sliced and added when served.
More ideas for green garlic here:
And attention Mrs cohutt, this mentions artichokes and looks really nasty in a very good way: Green garlic aïoli
If you are local and would like to experiment with a bunch or two, get in touch with me and I’ll be happy to share.
Zombie Celery
I read somewhere (maybe in a comment here?) that the leftover base from a bunch of grocery store celery can be sprouted and will regenerate another celery plant.
Really?
If it was posted on the internet then it has to be true, right?
I decided to try it.
After a few days, this is what I found:

Two weeks later (last week), we have this:

So what next? I see roots forming underneath, so fairly soon I’ll to it in good moist loose soil and let it root. It isn’t frost hardy, so that will have to be another two weeks or so if it goes outside (thus far I have no desire to grow celery in an indoor container).
For this, by the way, I have been labeled “cheap”.
Ha.
Actually, I probably am cheap but this little deal doesn’t register on the cheap scale.
It isn’t about the money, it is about trying new things sometimes just to see if they work. 😉
Artichoke Anniversary

A little over a year ago I posted about the grand artichoke plans for the year (the original post was here).
One year later to the day from that post, the plant that was sheltered in the hoop house all winter produced its first artichoke.
Woot.
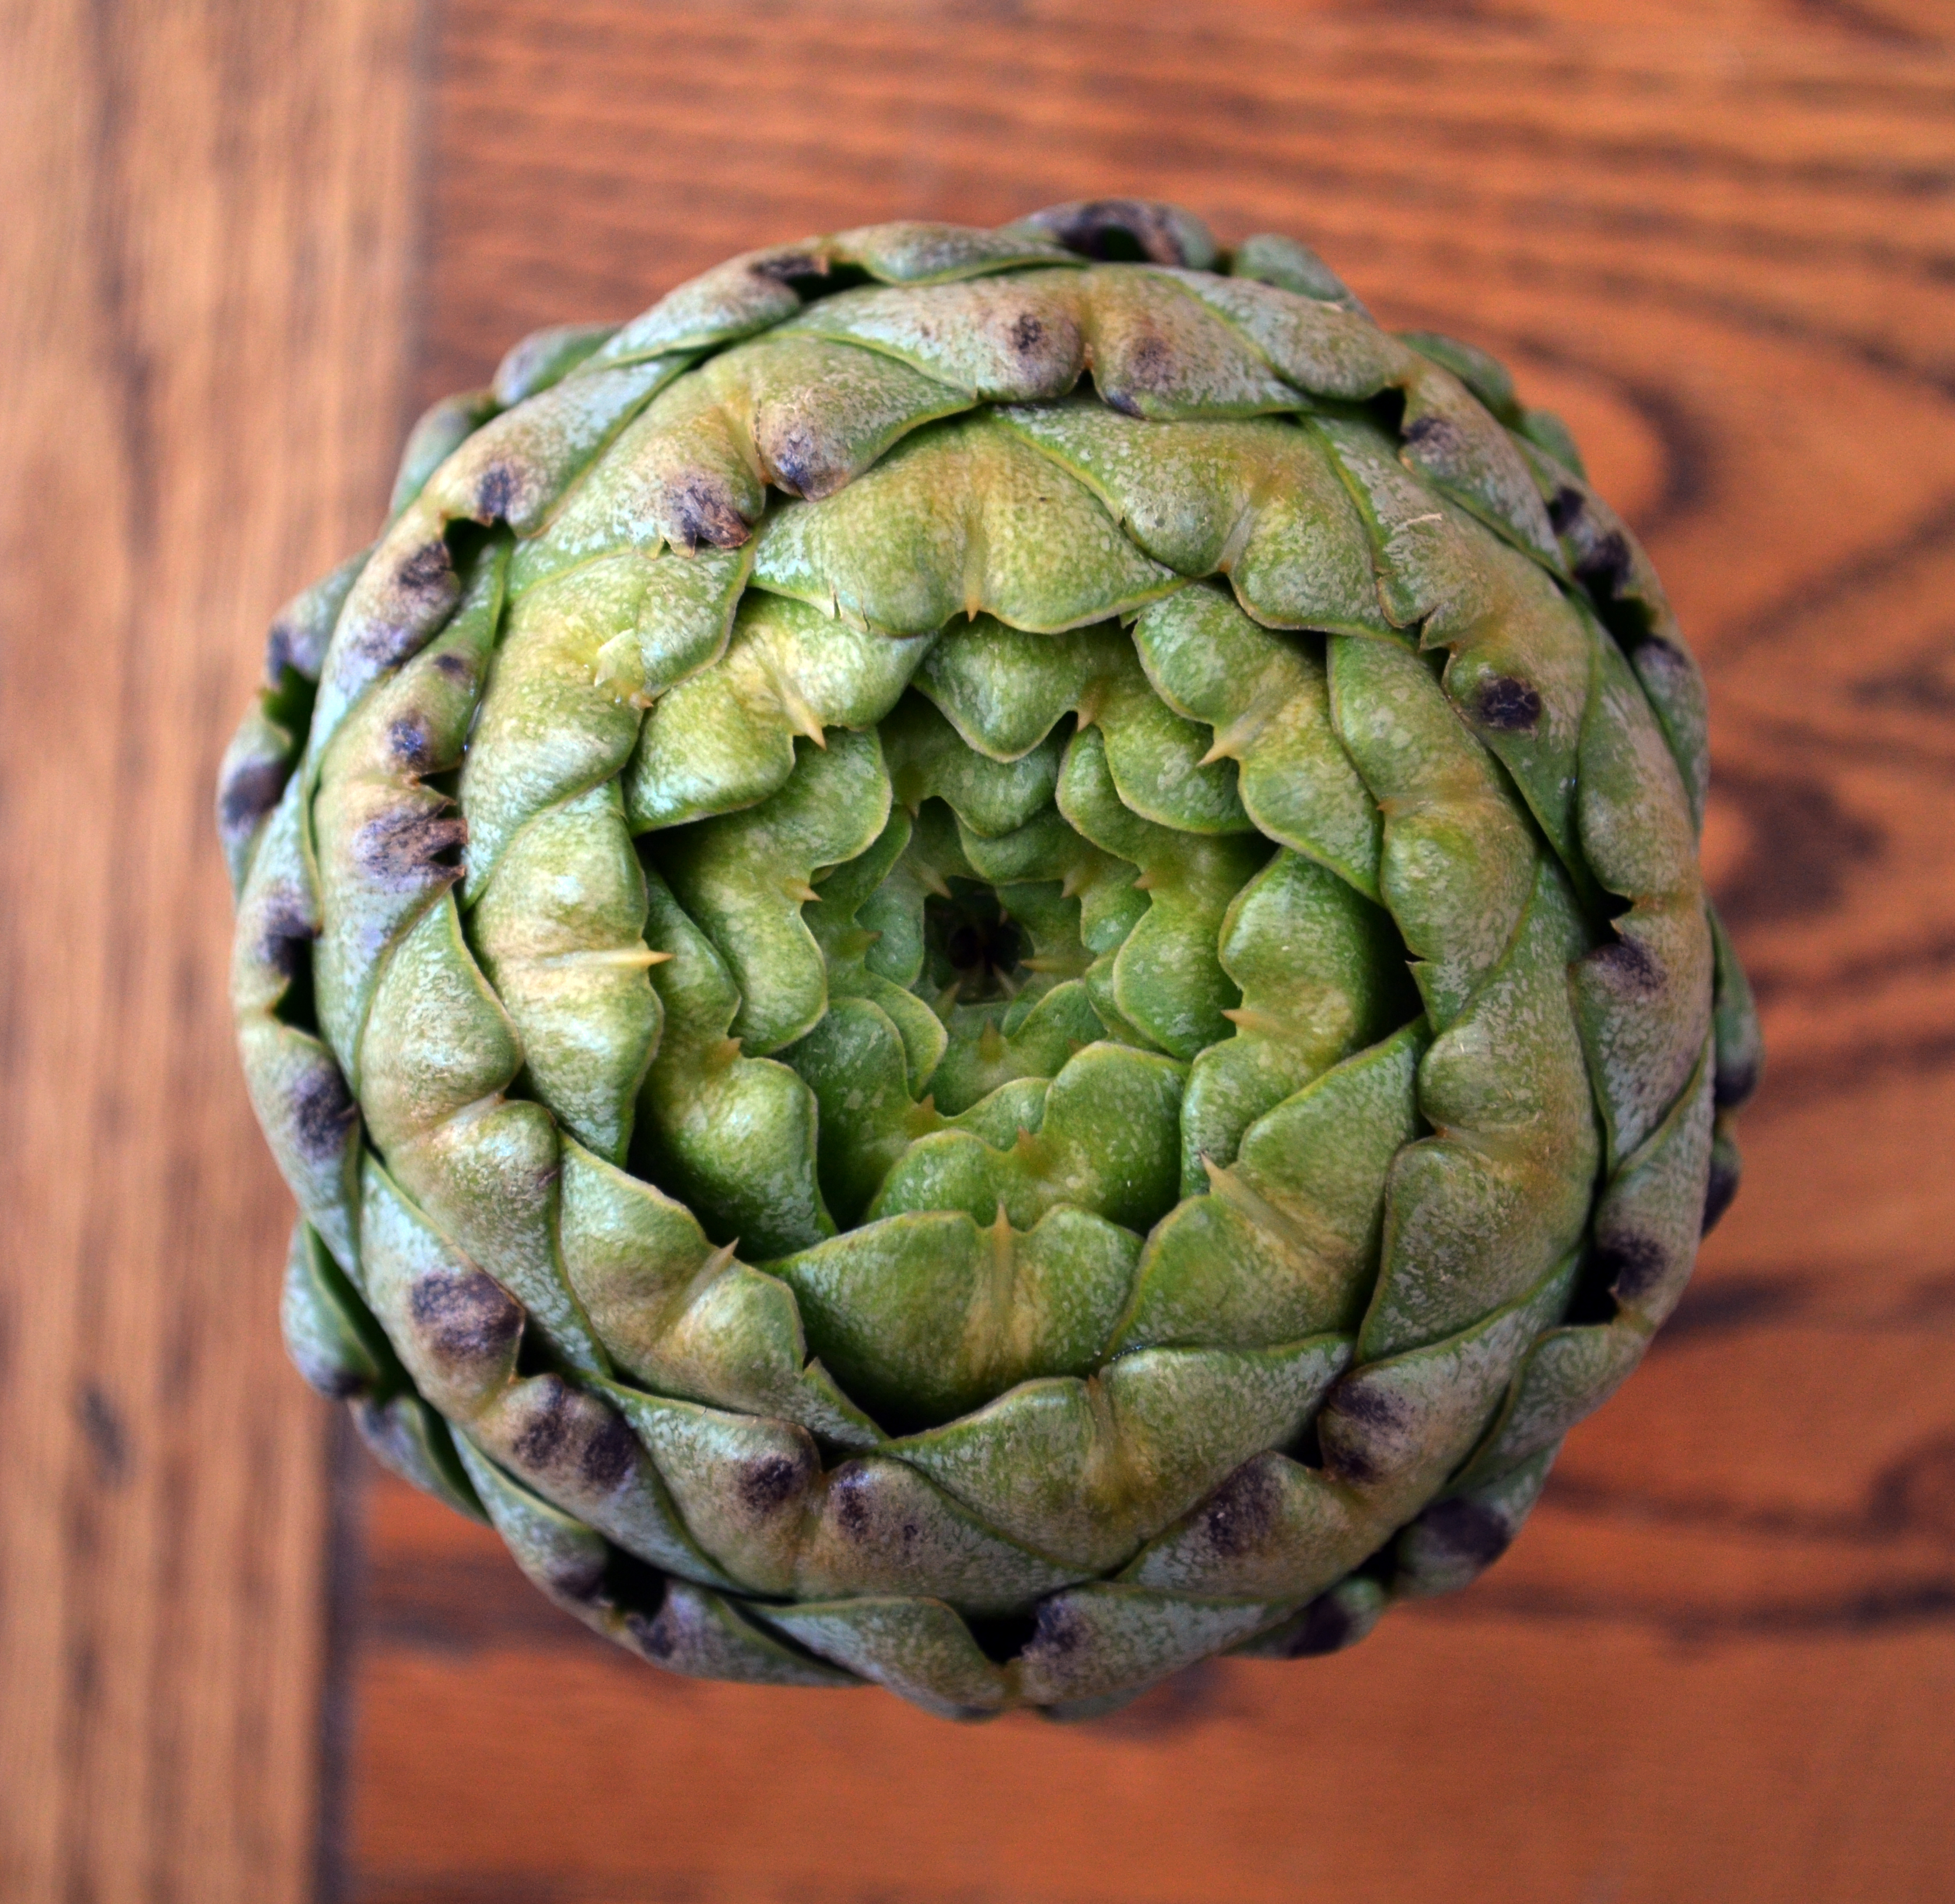
There are two more on this plant right now, and the smaller plant closer to the house has 4 buds developing.
It can be done; don’t be afraid to try.
